

My Mom flew in for a visit this week, and I want to make a few things for her that I haven't had the priviledge to make for her before. It's Friday, and G and I like to do something a little nicer on Fridays to welcome in the weekend. We usually do this by letting G do the cooking, meaning we eat out or have something delivered in. I wanted to make something different for my Mom tonight, so I decided on the Felafel I have made for the past few years, yet somehow never got around to making for Mom. I found the recipe in a Saveur magazine four or five years ago. It is wonderful. You can go to Saveur's website and do a search for "felafel" and the recipe will pop right up for you -or- you can read on and I will be posting it here. I love this with homemade pitas, tzatziki sauce (my version of it), sliced cucumbers, tomatoes and sprouts. Yummy! Just the thought of it makes my mouth water.
I'll start you out with the recipe for the pitas. I get this recipe from Peter Reinhart's Crust & Crumb: Master Formulas for Serious Bread Bakers
If I set the book closed on the counter and let it fall open, this is the recipe the book opens to. I love this pita recipe It works well with unbleached bread flour and with whole wheat flour. It makes lovely chewy pitas with delicate pockets. I believe the biggest joy in making pitas for me is the magical transformation in the oven from flat to balloon.
Once out of the oven, the pita will deflate, but the ballooning is what causes the pocket to form. I have been making this recipe for years and it has yet to fail me.
Pitas (makes 4 to 8 breads):
3 1/2 cups unbleached bread flour
1 tsp salt
2 tsp active dry yeast
2 Tbsp olive oil
1 1/4 cups cool water
________________________________
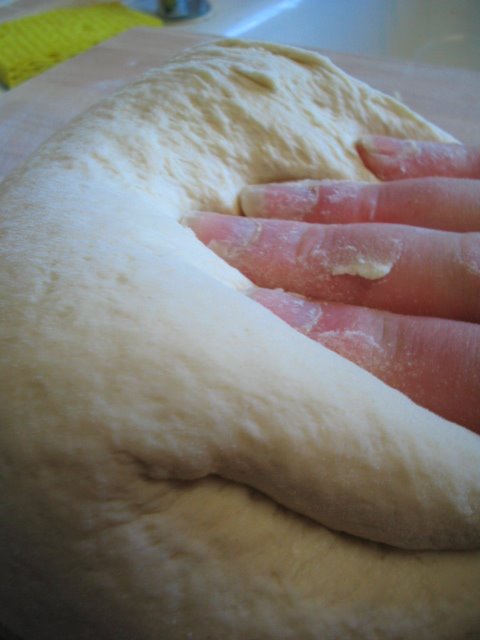
-Mix together all ingredients either in the bowl of a mixer with a dough hook, or in a bowl with a spoon or your hands.
-Once the dough starts to come together, change the speed on the mixer to medium and let it mix for about 8 minutes or until the dough is elastic or, if mixing by hand, turn the dough out onto a floured board and knead by hand until the dough is smooth and elastic, about 10 minutes or so (I did mix this by hand as I felt a need for some good dough therapy).
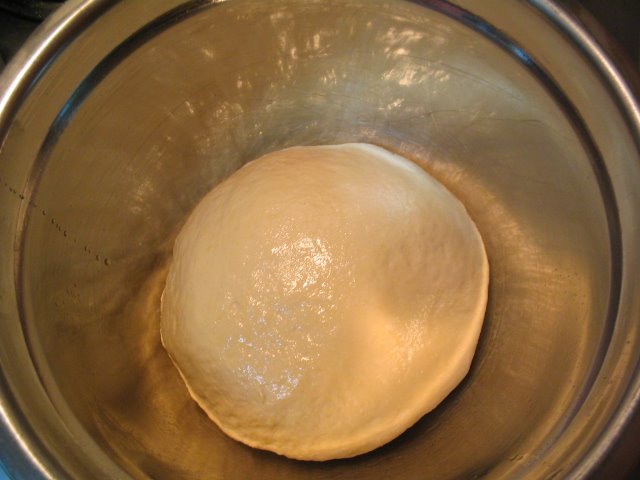
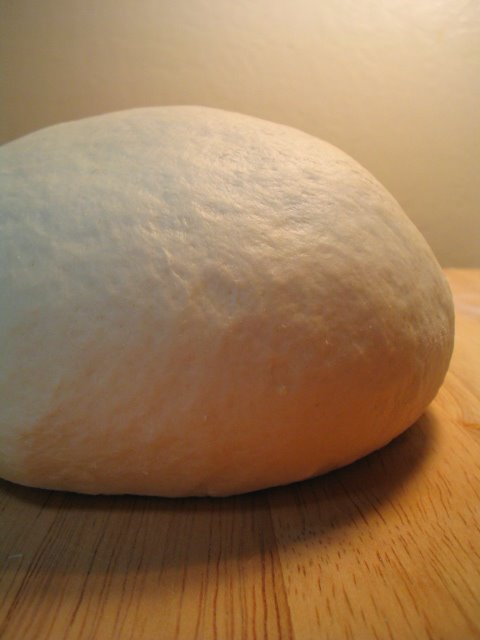
-Place the dough in an oiled bowl turning it to coat the top with oil. Cover the bowl and set aside to rise for about 1 to 1 1/2 hours or until doubled in size.

-Preheat oven to 475 f with either a baking stone or an upside down sheetpan inside.
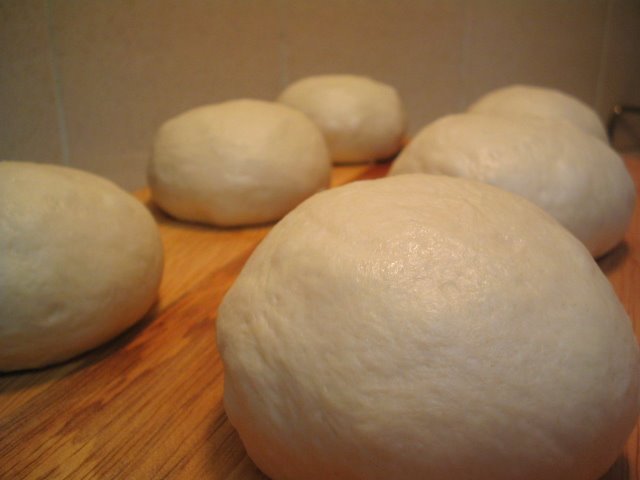
-Turn the dough out onto a cutting board, flatten slightly and divide into 4 to 8 pieces.

Form each piece into a ball and set on an oiled surface, cover with plastic wrap and allow to rest for about 30 minutes.
-Once the dough has rested, lightly flour a surface and roll out the balls one at a time, placing them into the oven(it's a bit more like a light toss onto the baking stone or onto the back of the heated sheetpan) and baking them as you go. They should be rolled to about 1/4 inch thick.

Watch the magical puffing of the pitas as you go. These don't take that long to bake..it is 5 minutes or less for each one.

They are done as soon as they inflate to the size of a balloon.

Use caution when removing them from the oven, as they may tear a bit and some steam will escape. It hurts when steam burns you! I know! And, as you remove each from the oven, layer them with a piece of towel or paper towel, so that as they begin to deflate, they steam themselves. This makes the flexible soft pita that we all know and love.

-Once done, set aside and work on falafel mixture (or work on the falafel mixture while the dough is on it's first rise...this works best if you are budgeting time)(or use for sandwiches of any kind, or cut into triangles and crisp up in the oven and use to dip in things..like hummous...yum).
Felafel (chickpea extravaganza):
1 cup dried chickpeas soaked for at least 8 hours or overnight (I've never tried canned chickpeas for this, but I think they are cooked and will be too wet for the recipe)
2 Tbsp bulgar
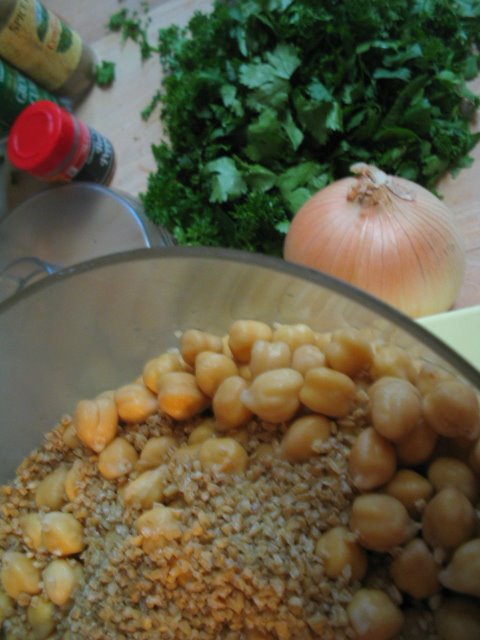
1 med yellow onion, minced
2 (or three...I like three, I love garlic) cloves of garlic
3 Tbsp chopped fresh parsley
3 Tbsp chopped fresh cilantro
2 tsp salt
1 1/2 tsp ground cumin
1 tsp ground coriander
1 tsp baking powder
pinch of ground black pepper (I just do a few grinds with the peppermill)
pinch cayenne pepper
pinch tumeric (optional, I don't use it)
1/4 tsp cardamom seeds (if you can find them...I haven't been to a spice house for a long time, so I don't have them. It doesn't effect the final product..so what am I saying? oh yea, Optional!)
2 Tbsp cool water
__________________________________________
-Make sure you have a fryer, or a deep pan filled 3 inches deep with oil heated to 350f.
-Drain the chickpeas (garbanzo beans) and place in the bowl of a food processor fitted with a blade. Add the cloves of garlic and bulgar. Process until the chickpeas take on a coarse sandy appearance,
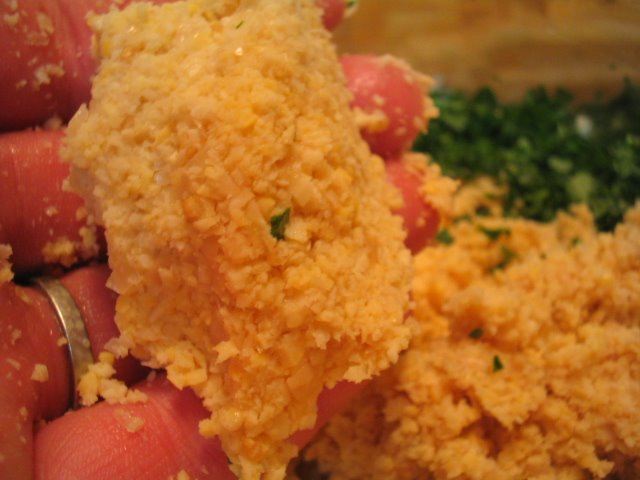
and until they hold together when pressed in the palm of your hand.
-Place processed chickpea mixture into a medium bowl and add all the rest of the ingredients. Mix thoroughly.
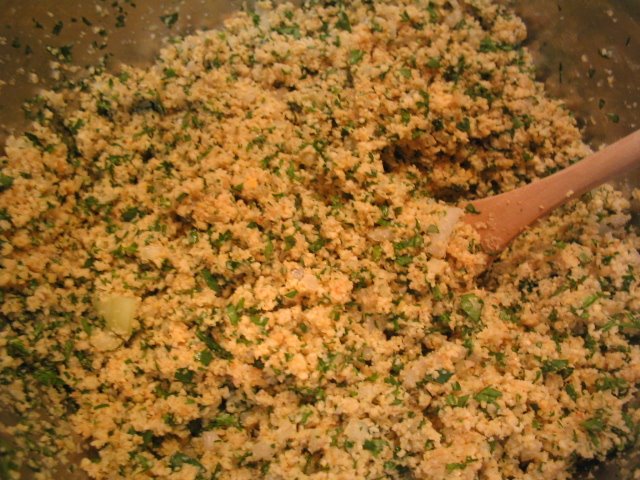
Allow to sit, covered, for half hour or a bit longer. Make your tatziki sauce at this time. Heat your oil at this time.
-Shape the chickpea mixture into balls or patties

(about 2 inches in diameter) and carefully place in the hot oil. Fry until the falafel patties turn a nice golden brown. Remove from hot oil and set on a paper towel to drain off excess oil.
Tatziki Sauce (well..my version of it)
2 cups of plain yogurt, drained of excess liquid (you can do this by placing a coffee filter or some plain white paper towel into a strainer, placing the yogurt in the filter, and placing a little weight on top to drain off the liquid..this takes about 2 hours..or you can do this overnight for a very very thick sauce).
3 cloves garlic, minced

2 cucumbers, peeled, grated and drained
salt and pepper to taste
______________________________
-Mix together all ingredients. Refrigerate until ready to use.
Assembly of the Felafel:
-I prefer my pitas to be warmed up in a bit of olive oil. So, I just heat a pan, add a little olive oil and heat each pita on each side until they are golden brown, this is up to you..if you want straight pitas, go for it!
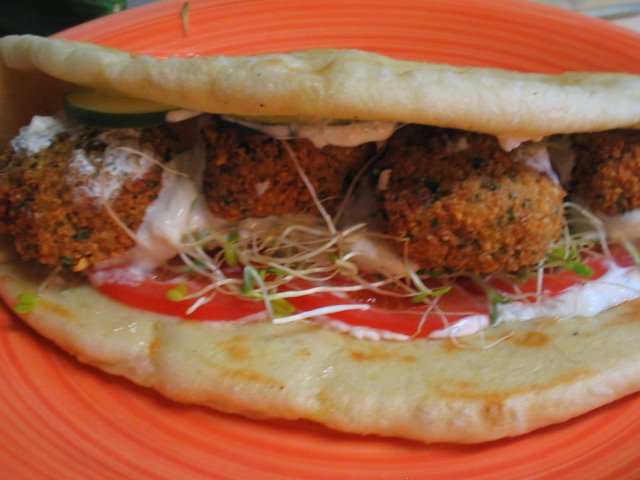
-I slice up some tomatoes and cucumbers, have some sprouts on hand, onions are nice also.
-Assemble the falafel however you like! I like lots of garlicky tatziki, tomatoes and sprouts. G likes lots of garlicky tatziki, cucumbers and sprouts, BarmyMom liked it with tomatoes, cucumbers and garlicky tatziki. Really..you could do a lot of different toppings with this. Olives, lettuce, garlic sauce....whatever you think will be nummy.
And, that, is that! Share these with someone today, so your garlic breath can cancel out theirs!
Technorati Tags:falafel, felafel, dinner, pitas, baking, bread, sandwich, baker, food, homemadepita, pita, yumyum
Generated By Technorati Tag Generator


4 comments:
Jen, I never tought about making homemade pitas until I saw your post! With your step by step explanation, tips and wonderful pictures, it seems I can actually make them...
And your felafel looks really yummy!
Thanks for sharing!
Cinara,
Thank you! Pitas really aren't that difficult to make, and they are much better than store bought! I'm sure you will have no problems making them :)
Excuse me for commenting so late. You are right. Homemade pita and homemade felafel are fabulous! We just made felafel that are virtually the same as your recipe. But we didn't put cardamom in ours. (Heh. but then neither did you.)
What? No harissa? ;-) Good idea to serve sprouts and olives!
-Elizabeth
u should post more food recipies.u're so talented.keep on the good work,ppl like u are an inspiration to me
Post a Comment