translate me!

 
Showing posts with label Baked Breakfast Goodies. Show all posts

Sunday, September 30, 2007

My Second Daring Baker's Challenge, and I'm in Love


I can't express how pleased I was to see this month's challenge. Marce of Pip in the city was this months wonderful hostess and she choose the sticky bun/cinnamon roll recipe from Peter Reinhart's The Bread Baker's Apprentice: Mastering the Art of Extraordinary Bread, a book that I couldn't recommend more. Peter Reinhart was my breads teacher back in 1999, and the man really does an excellent job of sharing his techniques and love of all things yeasty.

Now I've procrastinated this challenge just about down to the last minute. We are all posting this on the 30th, and it is the 29th at 8:30 PM. I have just mixed up my dough, and expect to be shaping these babies in about 2 hours time. I've decided to go with the cinnamon roll version of these, as I've already posted some sticky buns here on my blog awhile back.

The complete recipe can be found on Marce's blog Pip in the city, as it's very late here and I should probably consider sleep sometime soon, I'm just going to go with photos of the process and some comments! So, here goes....

This is the dough just out of the mixer, the bowl is lightly oiled as is the dough. This is a very soft silky lovely to touch kind of dough. I love working with enriched doughs for their feel alone:

After 2 hours and 45 minutes of bulk rising time, the dough looked like this:
It's a bit hard to tell from the shot, but it had indeed doubled in size, It just doubled more out than up.

After the dough has doubled, it gets rolled out to about 12 by 14 inches (well, it did for me, as I was opting to make the larger rolls):
I then sprinkled (well, it's more like spread, this is a lot of cinnamon sugar) the cinnamon sugar mixture over the dough leaving about 1 inch free of sugar so that I could seal it up after I rolled it:
The dough is then rolled up into a nice long roulade and sliced into about 12 pieces(for the larger rolls):
The pieces are left to rise, covered, for about 1 1/2 more hours and are then baked for about 20 to 30 minutes:


The icing for the cinnamon rolls in this recipe makes quite a bit, so I think next time I would only make a half batch of it. I have quite a bit leftover and I'm not sure what I'm going to do with it currently. I've found the best way (aside from using my hands) to apply the icing is to dip a fork in it and wave it back and forth quickly over the warm rolls (they should only cool for about ten minutes before you apply the icing). You can make whatever kind of pattern you like with it. I'm a big fan of the crosshatch:

These are delicious cinnamon rolls with a really nice hint of lemon flavor that cuts the sweetness a bit. Best savored with a nice hot cup of tea!

You can see how all the other wonderful Daring Baker's did with their challenges by clicking on the Daring Baker Blogroll link on the right hand side of this blog!
Happy Daring Baking, and a big thanks to Marce for this wonderfully relaxing challenge! And now I'm off to bed...

Technorati Tags:, , , , , , ,
Generated By Technorati Tag Generator

Tuesday, June 05, 2007

Time to Make the Doughnuts (Donuts?)


Doughnuts, or Donuts. However you spell it they are tasty. They are not something one should make a regular diet out of, but in moderation they won't kill you. I don't believe I've had a doughnut in a few years so it seemed like now was as good a time as any to make some. I prefer the yeasted glazed doughnuts to the cake ones (although the cake ones are quite nice also). I have found that Alton Brown, of The Food Network, has a wonderfully delicious chocolate glaze that works beautifully on these. I also did a few jelly filled donuts just to round out the batch because if they have fruit in them, they must be healthy, right?

Yeasted Donuts:

2 1/4 tsp active dry yeast(1/4 ounce, one packet)
1 1/4 cups milk, warmed to about 100f
1 cup (8 ounces, 2 sticks) unsalted butter at room temperature
1/4 cup sugar
3 eggs
1 tsp salt
5 cups flour (I used 5 1/2 this time, you want a soft dough, but not so soft that you cannot knead it...so you might need a bit more or a bit less flour)
Oil for frying (I used a vegetable oil)
_______________________________
-Mix yeast and milk together and let it sit about 5 to 10 minutes until the yeast begins to bubble.
-Cream the butter and sugar together. Add the eggs, one at a time, mixing well after each addition. Add the salt.
-Mix in the flour alternating with the yeast mixture, so you are beginning and ending with the flour (1/3 flour, 1/2 yeast mixture, 1/3 flour, 1/2 yeast mixture, remaining 1/3 flour). You may need a little more flour if the dough seems too soft for you to knead.
-Turn the dough out onto a floured surface and knead until smooth and elastic (you may use your mixer with a dough hook attachment if you prefer, but I figure hand kneading is relaxing, and you'll burn calories while doing it thus justifying the need for a doughnut).
-Let rise, covered, in a bowl lightly sprayed with pan spray until doubled in bulk.

-On a floured surface, roll out about 1/2" thick, cut into rounds or squares, or whatever shape you like, I did the traditional round with the hole in the center for the glazed doughnuts, and just a plain round for the jelly filled (I didn't have a cutter specifically for doughnuts, so I used a drinking glass and a cannolli mold to cut out the centers).
-Cover with plastic wrap or a damp towel and let double in bulk again.
-Heat your oil to 375f in a heavy bottomed saucepan deep enough for the doughnuts to be able to rise to the top and float (you also don't want the oil up to the rim of the pan, you only want your pan filled halfway at most for safety).
-Carefully add the doughnuts to the oil. Brown on one side and turn the doughnuts
over to brown the other side (the best way to turn these is with two chopsticks, but tongs will work. Make sure when you turn your doughnuts over that you turn away from you so any oil that might be cheeky and splash, splashes away from you). Depending on the size of your pan you can do up to 3 doughnuts at a time. Drain the doughnuts on some paper towel. Glaze while still warm. If you fry up the holes (and why wouldn't you fry up the holes?), put some sugar (powdered sugar, cinnamon sugar, coconut, etc...) into a brown paper bag and when the holes come out of the oil, put them in the bag with the sugar and shake it up to coat them. You can also fill your doughnuts with a pastry bag fitted with a small plain tip and filled with jelly or your favorite custard filling (lemon curd is quite good in these, yum).

Alton Brown's Chocolate Doughnut Glaze (can also be found by doing a recipe search on Food Network):


1/2 cup unsalted butter
1/4 cup whole milk, warmed (I did not have whole milk so I used half heavy cream half 1% milk)
1 tablespoon light corn syrup
2 teaspoons vanilla extract
4 ounces bittersweet chocolate, chopped
2 cups confectioners' sugar, sifted
____________________________________________
-Place the butter, milk, corn syrup and vanilla extract in a saucepan and heat over medium until the butter melts.
-Turn the heat to low, add the chocolate and whisk until smooth.
-With the pan off the heat, whisk in the powdered sugar until smooth. Set glaze over a bowl of warm water to keep it fluid and dip doughnuts immediately.
-Allow the glaze to set up for about half hour (yeah, right....just try to resist the goodness) and eat!

Happy Baking...er...frying!

This post will also appear at Just Baking.


Technorati Tags:, , , , , , , , ,
Generated By Technorati Tag Generator

Sunday, December 10, 2006

Blueberry Muffins (not really Holiday Baking but that will return shortly)


You may be thinking that I have slowed down a bit in my holiday cookie posts, and you would be right. I haven't posted a cookie for a few days. Never fear...there will be a few more cookies coming in the next week and a half! My future In-Laws are here for a visit and G and I are showing them around the area. I do have a little time to post the lovely blueberry muffins that I made for breakfast this morning. This is a very simple recipe that showcases the blueberries themselves. I suppose one could add lemon zest or orange zest or some other flavoring, but I wanted straight up blueberry flavor! The recipe comes from Brother Juniper's Bread Book: Slow Rise as Method and Metaphor. The only thing I changed was to use half Splenda and half sugar and I made a half-batch. Yum.


Blueberry Muffins: (makes 24 muffins, which is why I did a half-batch)

8 cups all-purpose flour
1 Tbsp baking powder
2 tsp baking soda
2 teaspoons salt
3 cups white sugar (or half sugar/half artificial sweetener...I think I might try making these all splenda next time)
1 1/4 cups vegetable oil
4 eggs, slightly beaten
1 Tbsp vanilla extract
4 cups buttermilk
6 1/2 cups blueberries
_____________________________
-Preheat the oven to 350f. Grease muffin tins, or use paper/foil muffin cups in the tins.
-Mix together all the dry ingredients in a large mixing bowl.
-Mix together all the wet ingredients and add to the dry ingredients. Stir until the mixture just starts to come together and add the blueberries. Mix until the blueberries are incorporated and the mixture has just come together.
-Portion out the batter into each cup filling until they are just above the rim.
-Bake at 350f about 35 minutes or until the muffins are golden brown and spring bake when gently poked. Remove from oven and let cool for half hour in the pan, then remove them and let them finish cooling on a rack.

Serve alone or with butter or with whatever spread you like. These are a lovely moist muffin.

Happy Baking!


Technorati Tags:, , , , ,
Generated By Technorati Tag Generator

Thursday, November 16, 2006

Cranberry-Orange Bread! (Quickbread, really..)


First, I must apologize for my lack of activity here on the Barmy blog. I've had a few things on my mind lately and this has caused a bit of slacking in the photo-taking-food-writing area of my life. I do hope I will be back more frequently.

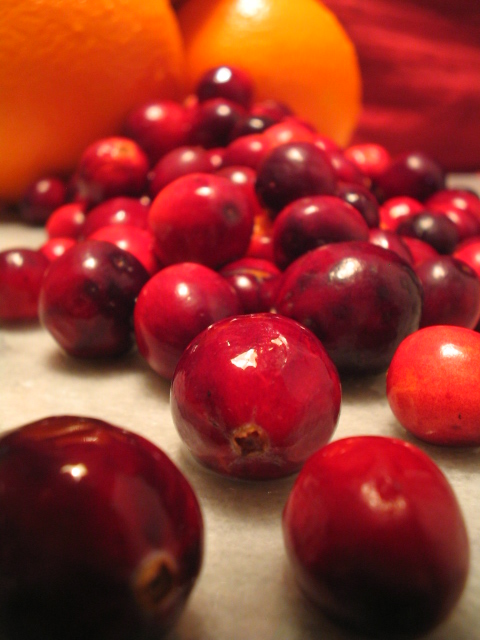
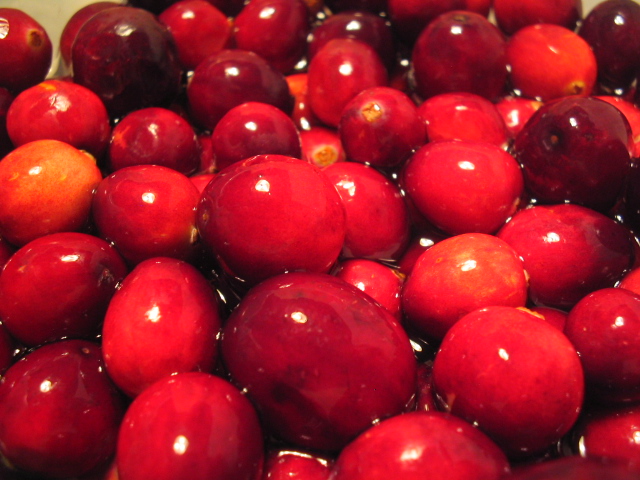
Cranberry bread is another of my favorite seasonal baked goods. I love the way that bright tart cranberries and lovely acidic oranges compliment each other. My mom always made loaves of Cranberry Bread for us kids to take to our teachers this time of year. I believe they were much appreciated. The recipe she used (and still does use) was the recipe from the back of the bag of cranberries, and this is the recipe that I still use and love. The only things I've really changed are: I've upped the amount of orange zest (cause I loves the orange zest) and I use butter instead of shortening (everything is better with butter, right?). This is a wonderful bread to add to your Thanksgiving, Christmas, or other Holiday feasts. It rocks alone or with a slathering of butter. Mmmmmmmm.

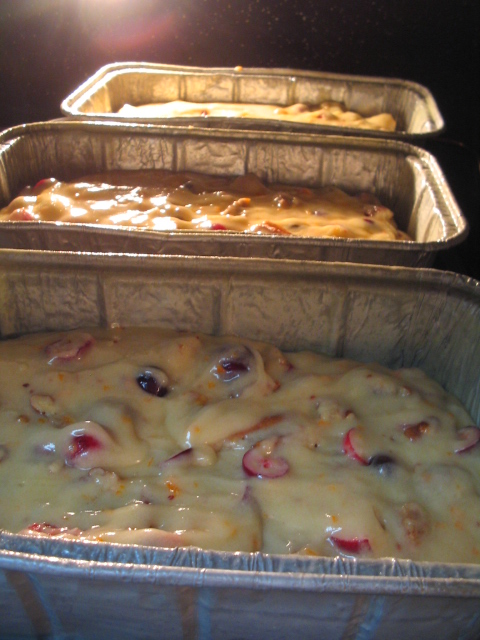
Cranberry Orange Quickbread: (I doubled this to yield 3 smaller loaves, the recipe as given here yields one 9x5" loaf)

2 cups flour
1 cup sugar
1 1/2 tsp baking powder
1 tsp salt
1/2 tsp baking soda
3/4 cup orange juice
2 Tbsp butter, melted and cooled
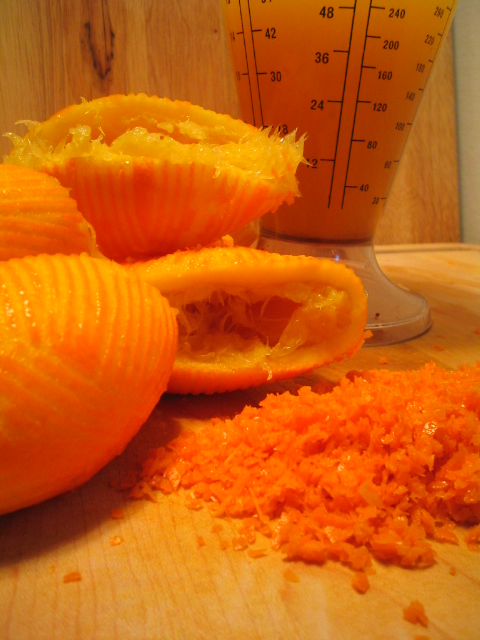
2 Tbsp minced orange zest
1 egg, beaten
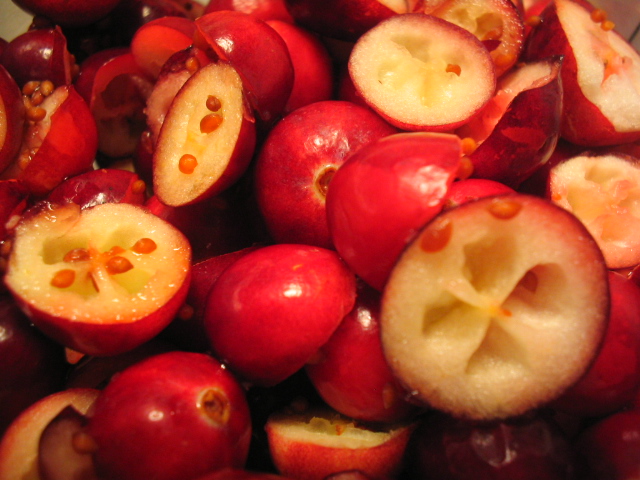
1 1/2 cup cranberries, halved
1/2 cup chopped nuts (I used my usual pecans)
____________________________________________
-Preheat oven to 350f. Grease one 9x5" loaf pan.
-In a large bowl, combine the flour, sugar, baking powder, baking soda and salt.
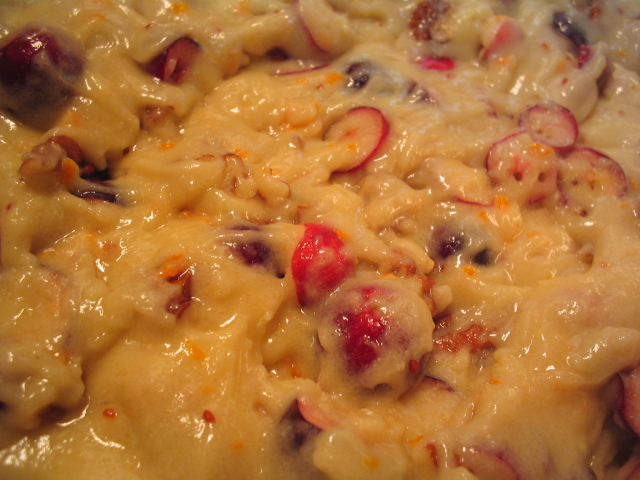
-To the dries add the orange juice, orange zest, egg, and butter. Mix until the it just starts to come together and add the cranberries and nuts. Mix just until the cranberries and nuts are distributed throughout.
-Scrape the batter into the prepared loaf pan (it takes a whole lotta restraint to keep me from eating the batter, yum).
-Bake for 45 minutes or until a toothpick inserted comes out clean.
-Cool, spread with butter or eat naked and enjoy.

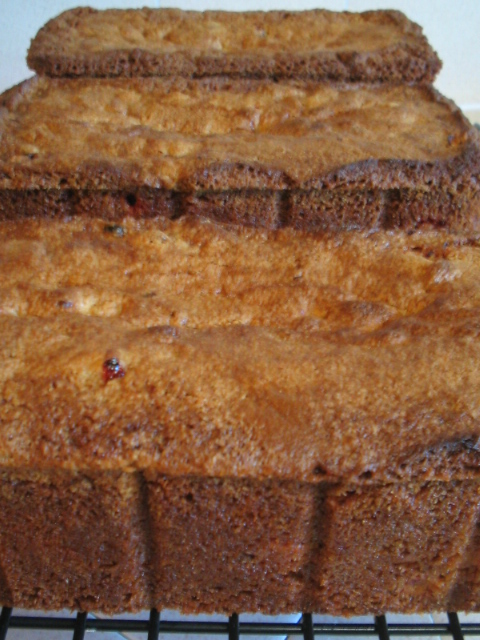
The cranberry bread is baking as I type this, and I realized that I made a boo-boo. I switched my amounts of the baking powder and soda. Don't you be silly and do this too! Well, we shall see what happens. I'm going to guess that I'll get less of a nice rise and more of a spread-out top on the loaf (and I'm going to guess that I'll be kicking myself about this for the next few hours). I'm hoping the taste isn't too baking soda-y. This is why the Barmy Baker shouldn't bake when there are too many things on her mind :). I'll post the picture of the way the loaves turned out, so you can see how you don't want yours to look.

Hope you enjoy! Happy Baking!

Note the flat tops. Yours will turn out beautifully with slightly domed tops, because you will be paying attention to what you are doing unlike a certain Barmy Baker I could mention.....


Technorati Tags:, , , , , , ,
Generated By Technorati Tag Generator

Monday, November 06, 2006

Meyer Lemon Loaf!


Now now....before you go saying "lemon? why, she must be barmy....it's fall, where are the cranberry and pumpkin loaves?"
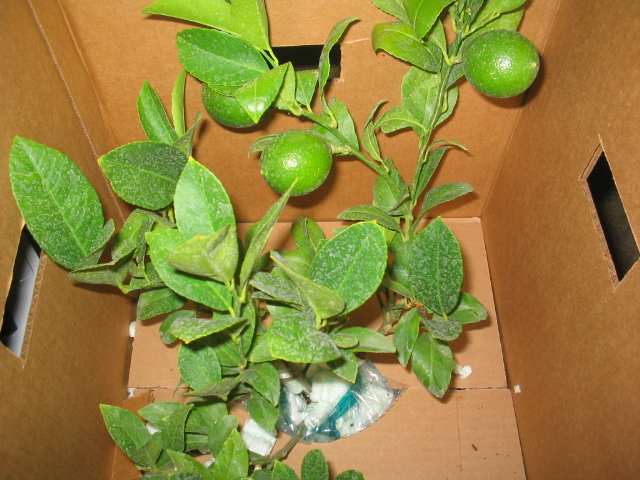
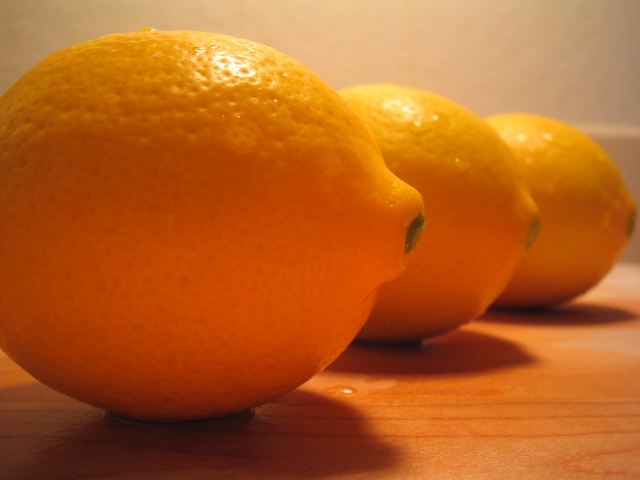
I will explain (short version): my older sister got me a tiny little Meyer lemon tree for my birthday in July, the tree had four little tiny green lemons on it when it arrived, the past two weeks the little lemons have turned that wonderful color that Meyer lemons turn, and today I just had to pick them. The smell alone was enough to put me in a different place. The smell of sunshine packed into a nice yellow rind. These were small Meyer lemons, compared to the ones I have gotten at the farmer's market, but I don't care.
I grew them, they rock! Just look at those golden glowing beauties!

I found the recipe for the Lemon Loaf in my copy of Desserts by Pierre Herme. It yields two wonderfully tart loaves, a touch lighter than pound cake. He suggests putting a thin layer of lemon marmalade over the top once it is baked, and I bet this would be very good.
I just brushed the loaves with some lemon simple syrup once they came out of the oven this gave them a lovely sheen and a little extra pucker power. Mmmmm.

Lemon Loaves:
2 2/3 cups cake flour
3/4 tsp baking powder
Zest of three lemons, minced (I used my Meyer lemons, store bought lemons will be fine)
2 cups sugar
6 large eggs, room temperature
3/4 cup sour cream (the recipe calls for creme fraiche, this is what I had on hand) at room temperature
3 1/2 Tbsp rum (I didn't have any rum, so I used some fresh squeezed lemon juice, rum would probably be really good though)
pinch of salt
4 1/2 ounces butter, melted and cooled
1/2 cup sugar, 1/2 cup water, juice from one lemon (for the simple syrup) ______________________________
-Preheat oven to 350 degrees. Butter and flour 2 loaf pans, I used 7x3x2" or
something like that...they are the "disposable" aluminum ones that I never really dispose of), tap out excess flour.
-Sift together the cake flour and baking powder, set aside.
-Place the sugar and the lemon zest in a large mixing bowl, and rub together until the sugar is lemon scented and a bit clumpy. Add the eggs and beat with a whisk until the mixture is a light lemon color and thickened a bit.
-Whisk in the sour cream then the salt, then the rum.
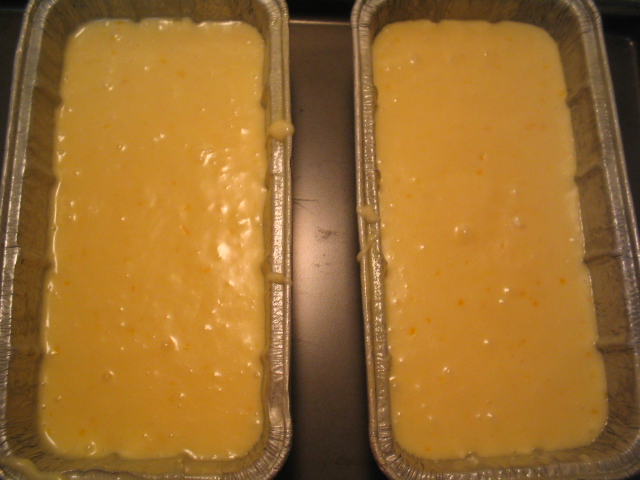
-Gently whisk in the flour in four parts, then whisk the butter in in three parts. You will have a lovely thick yet pourable batter flecked with lemon zest.
Yum.
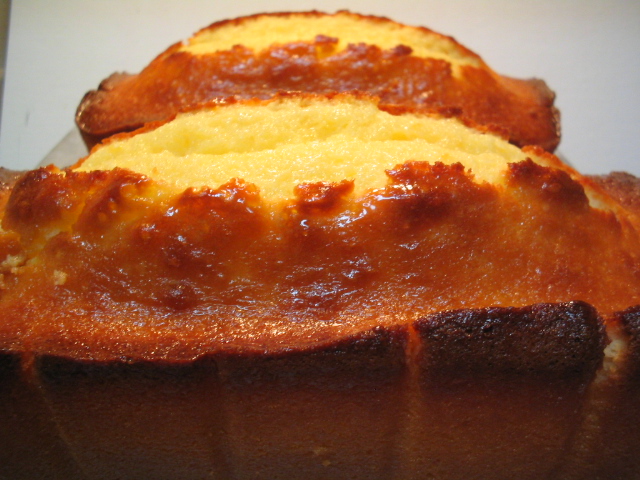
-Pour the batter into the prepared loaf pans and bake for about 55 minutes, or until the top doesn't sink in when lightly pressed. The tops of the loaves should split open beautifully revealing their creamy pale yellow innards.
-While the loaves are baking, boil together the sugar and water until the sugar is dissolved, remove from the heat and add the lemon juice.
-Turn the loaves out of their pans onto a cooling rack and brush liberally with the lemon syrup, repeat brushing as you feel necessary. Let cool. Make a nice cup of tea and enjoy.

Technorati Tags:, , , , , , , , ,
Generated By Technorati Tag Generator

Thursday, October 26, 2006

Pecan Sticky Buns!


I've often said that there is nothing quite like the smell of bread baking. I still stand by this, but, I do need to add one other smell to which nothing can compare and that is the smell of a sweet dough baking with cinnamon swirled on the inside and pecans and caramel bubbling on the outside.
Mmmmm. BarmyMom requested that I make these on the last day of her visit, and I happily complied. We passed the time during the rising with a few hands of gin (the card game, not the beverage). Sweet yeast doughs have a different feel from bread dough. They are silkier and softer by comparison. I know I have mentioned this feel in the past when I blogged Brioche. It is the soft smoothness of sweet doughs that I adore, not to mention how fabulous they taste when they come out of the oven!

Sticky buns are fairly easy to make, and you will be glad you did!

Sticky Buns:

the dough:
1 teaspoon white sugar
1 (.25 ounce) package active dry yeast
1/2 cup warm water
1/2 cup milk
1/4 cup white sugar
1/4 cup butter
1 tsp vanilla bean paste, or scrapings from one vanilla bean, or 1 tsp pure vanilla extract
1 teaspoon salt
2 eggs, beaten
3 1/2 to 4 cups all-purpose flour

_________________________________
-Mix together 1 tsp sugar, active dry yeast and 1/2 cup warm water. Set aside until foamy (about 10 minutes). Heat milk, sugar and butter together until butter melts, remove from heat, add vanilla and let cool to lukewarm.
-In a large bowl, mix together yeast mixture, milk mixture and beaten eggs. Add flour and salt and mix until everything comes together.
-Turn out onto a floured surface and knead until the dough is smooth, soft and shiny.
-Form dough into a ball, and place in a clean bowl that has been sprayed with pan spray. Cover and let rise until double, about one hour. While the dough is rising, make the sticky sauce and the cinnamon filling, then play some cards!

Sticky Sauce:
1 cup butter
1 cup brown sugar
1 cup chopped or halved pecans
_______________________________
-Place brown sugar and butter in a sauce pan, and heat until bubbly. Remove from heat and pour into a pan-sprayed 9"x13" pan. Sprinkle the nuts evenly over the goo.

Cinnamon bun filling:

3/4 cup brown sugar
1 1/2 tablespoon ground cinnamon
1/4 cup melted butter
_______________________
-Mix together the cinnamon and sugar, set aside.
-Melt the butter and have a pastry brush handy, set aside.


Once the dough has doubled:
-Turn the dough out onto a lightly floured surface and flatten into a rectangle with your hands.
-Roll the dough out to about 16 by 22 or 24". Brush the melted butter over the rectangle, leaving a 1" border along one side to allow sealing of the roll. Sprinkle the buttered part of the dough with the cinnamon sugar mixture. Beginning at the top, roll the dough over on itself as if you were rolling a jellyroll.
Start rolling at one side, work your way across to the other side, then turn back again. Roll fairly tightly. Place the roll seam side down on a cutting board and slice into 15 pieces (or 12 if you want really big buns) placing the pieces in the prepared gooey pan as you go.
-Preheat oven to 350f


-Cover the buns and let rise for about an hour (or till doubled). Play cards again.
-Once the buns are doubled in size, Bake for 25 to 35 minutes, depending on your oven and your preferences, until the buns are browned and the sticky sauce is bubbling up around the sides.
Inhale deeply while the buns are baking. Mmmmm.
-Remove the buns from the oven. Wait about 3 or 4 minutes, then turn the buns out of the pan onto a sheet pan (you may need to scrape some of the stickiness out of the pan and onto the buns, no big deal, just beware burns).
-Cool a little bit, and enjoy!


Mom, hope you had a good visit!

Happy Stickier Bun Baking!


Technorati Tags:, , , , , , , , , ,
Generated By Technorati Tag Generator